SET-L'S SPACE
VK3STL | QF22oe | Foundation License
3D Print: Oculink Dock GPU Cage with PSU Holder
At the end of last year, I acquired a GPD Win Max 2 2023 Edition laptop in their Kickstarter program. It's a phenomenal little machiine, with more than enough CPU to power through my day-to-day tasks.
The Ryzen 7 7840U has an integrated Radeon 780M GPU that is adequate for gaming on the go, in low settings at FHD. But the laptop also features an Oculink SF-8211 port in the back for direct attachment of PCIe devices, allowing a full-sized desktop GPU to be attached to the laptop with one cable. This sounds like USB4/Thunderbolt, however the PCIe connection is completely native, giving you the full benefit of a 4x lane connection to a GPU, with Resizeable BAR and Above 4G Decoding enhancements.
I have a Radeon 6800XT 16GB card at home I use for gaming on my 4K TV and ultrawide workstation. Using an ATX PSU, and a couple pieces bought from AliExpress, I have a very convenient solution for docking and gaming, whilst also being able to take my computer anywhere I go.
The Oculink Dock Parts
Note these parts will come in and out of availability. Hopefully, parts are still available, if not from these vendors, but from others, at the time of your reading.
Oculink to 16x PCIe Adaptor with ATX Power Control
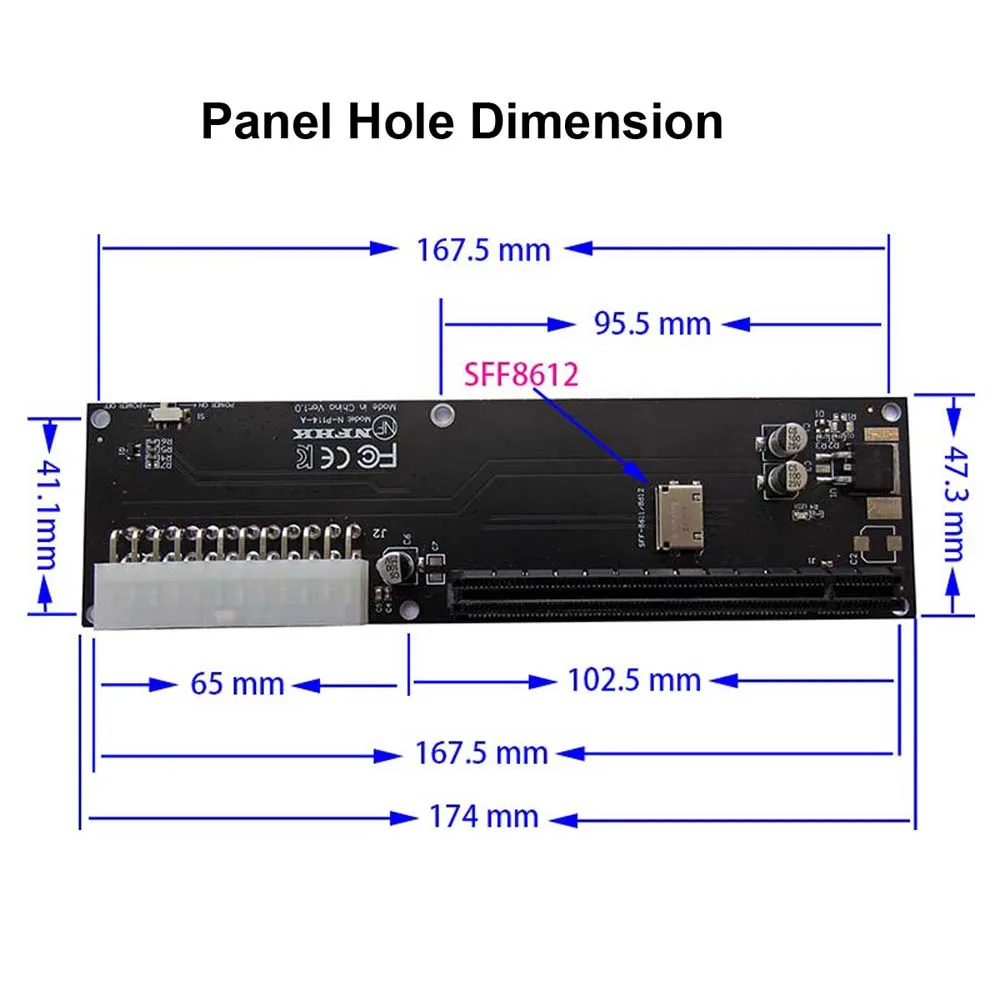
This dock was chosen due to it's ability to switch between "always on" and "standby" power modes, the latter only turning on the GPU when a powered-up laptop was properly connected.
This image displays all the screw hole dimensions.
PCIe Bracket
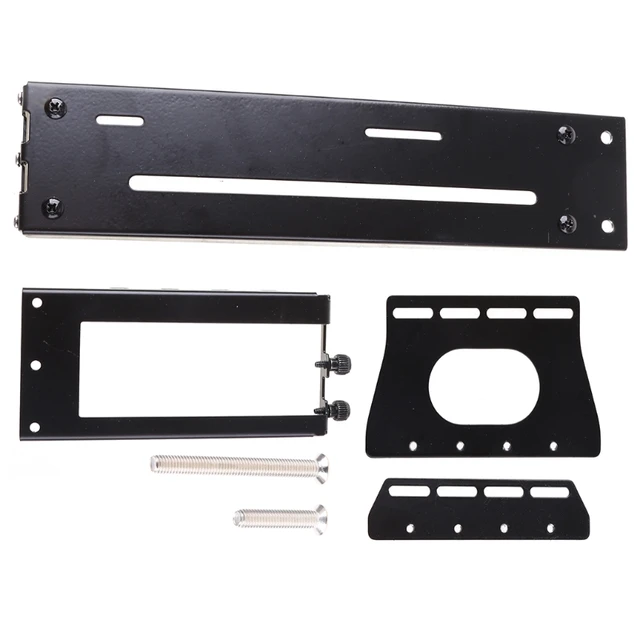
This bracket requires holes to be drilled for the bracket to fit. I pretty much used a sharpie and a GT710 GPU tp line up the board and draw dots on the bracket, before grabbing a power drill and making some holes in it (and my counter top). There's three perfectly sized standoffs included in this package, with which you can mount the PCB to the bracket nicely without needing to tap your dril holes.
The Cage
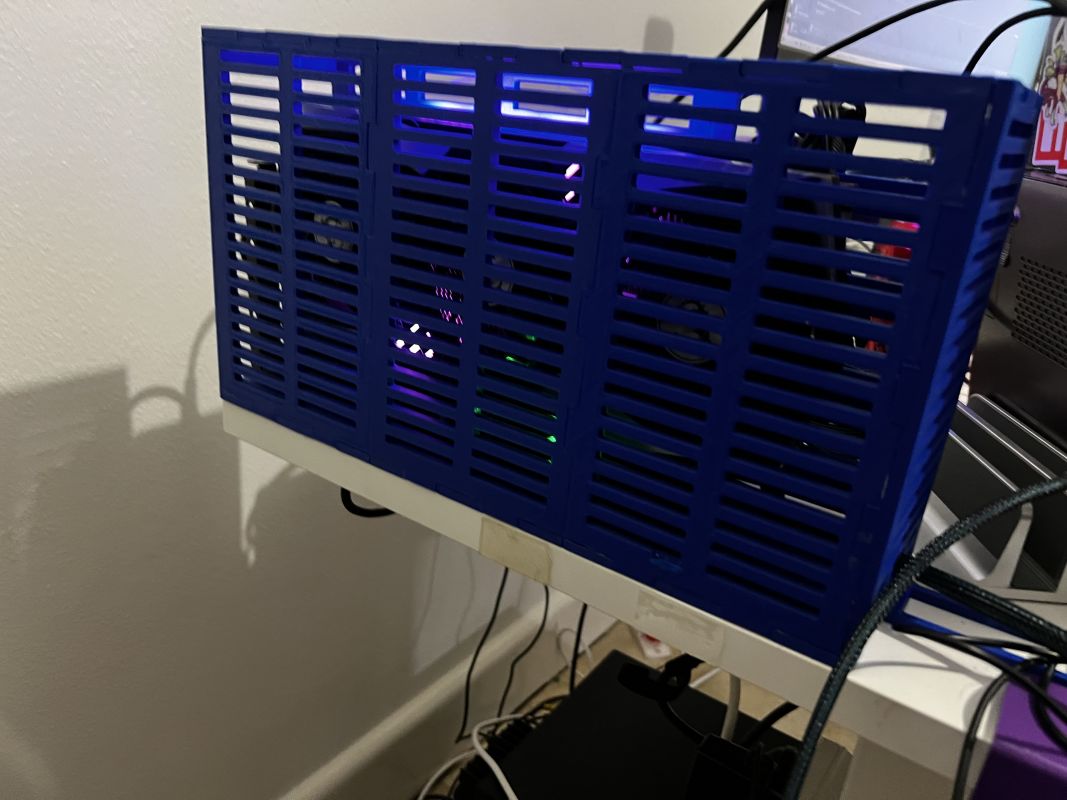
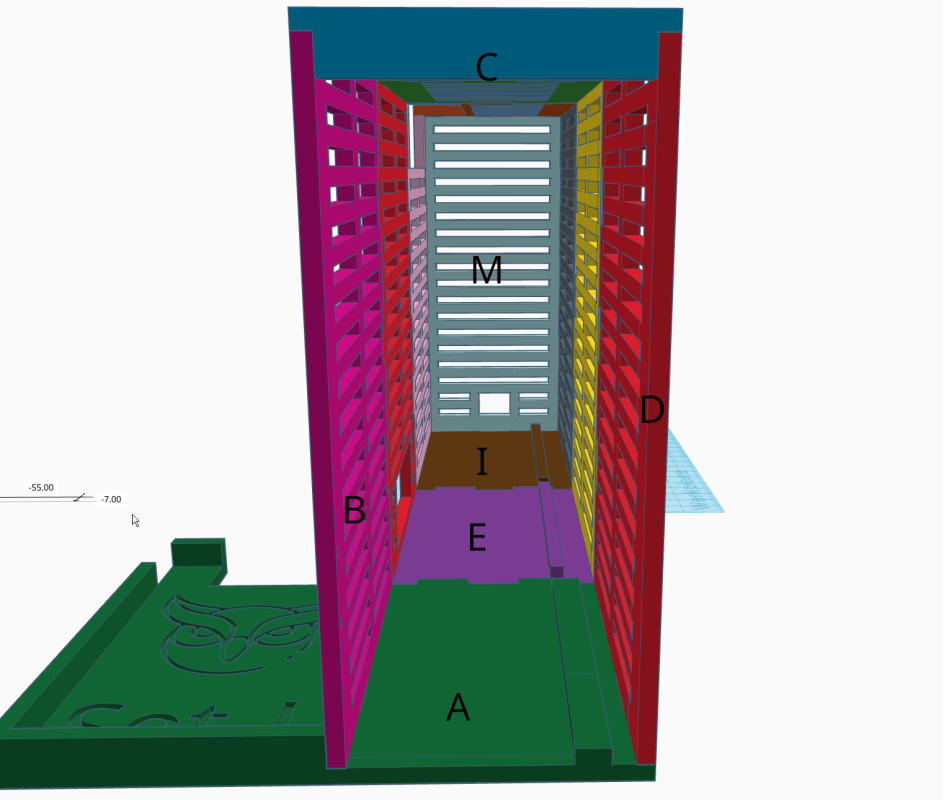
The cage has an internal max height of 190mm, and a depth of 360mm for your GPU to fit. It will fit a three-slot card with two rear IO slots.
I spent an hour playing Control at 3440x1440 with a Radeon 6800XT, unlocked FPS with Ultra settings and full raytracing enabled. The PLA+ showed no signs of warping and was still strong despite the heat.
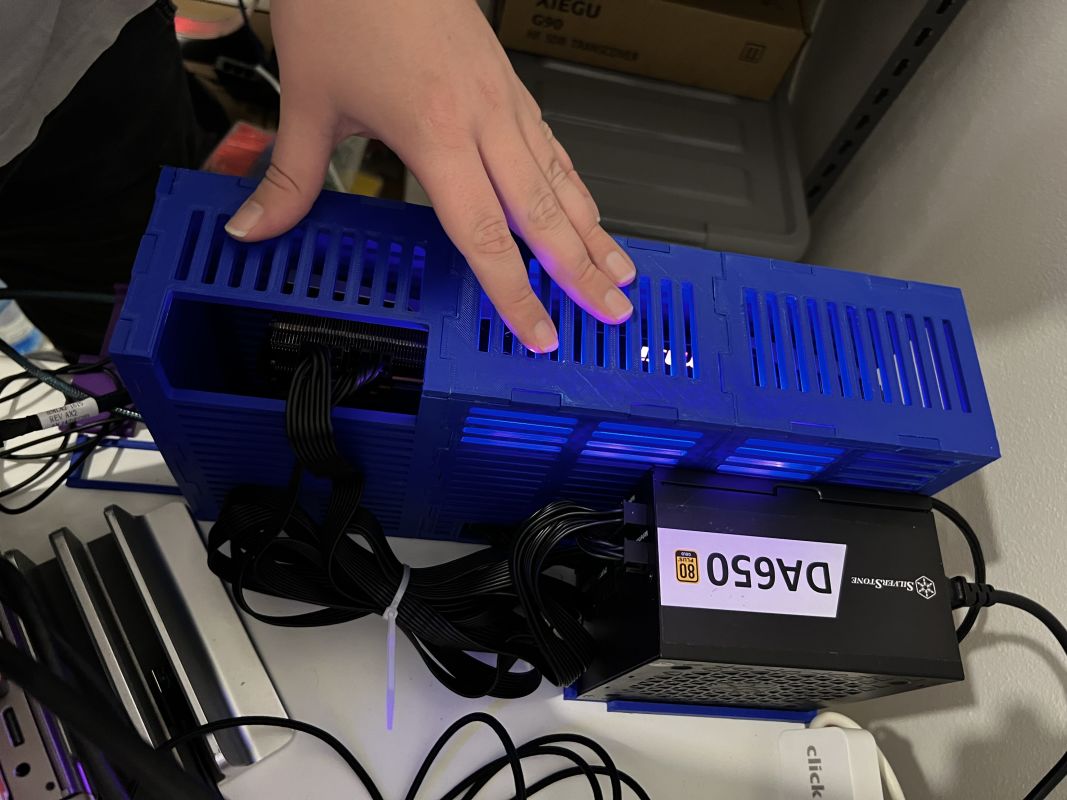
The fact that all sides (except the bottom) are ventilated really helps the plastic (and the card) stay cool under pressure. Those a little concerned with heat could attach a Noctua 80 x 15mm fan to the side behind the PSU to keep the backplate air moving.
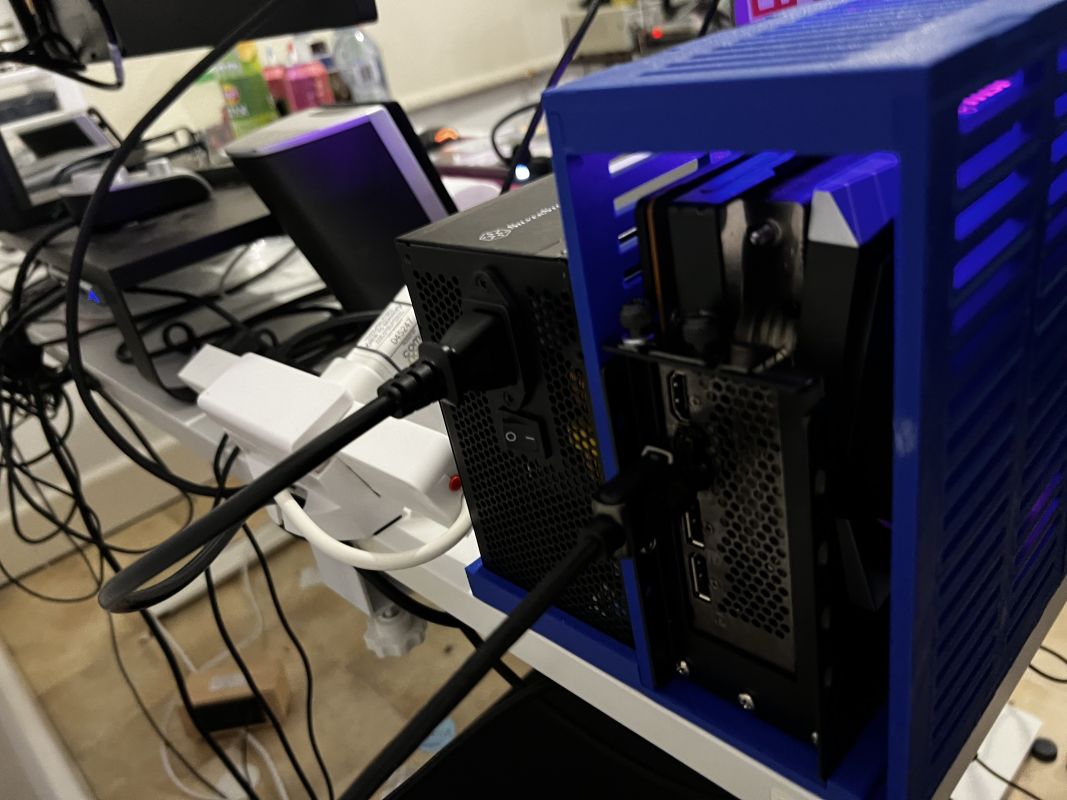
The GPU and bracket is designed to slide in and be screwed to the cage to secure it. Feed the oculink cable through the hole in the front, hook up power, bolt it in and it's set.
The Print
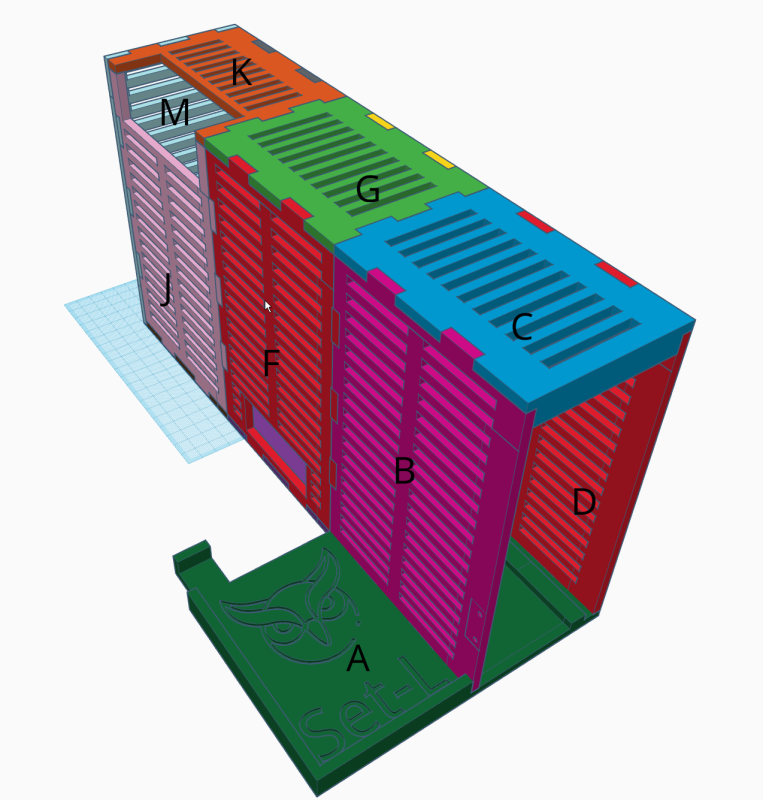
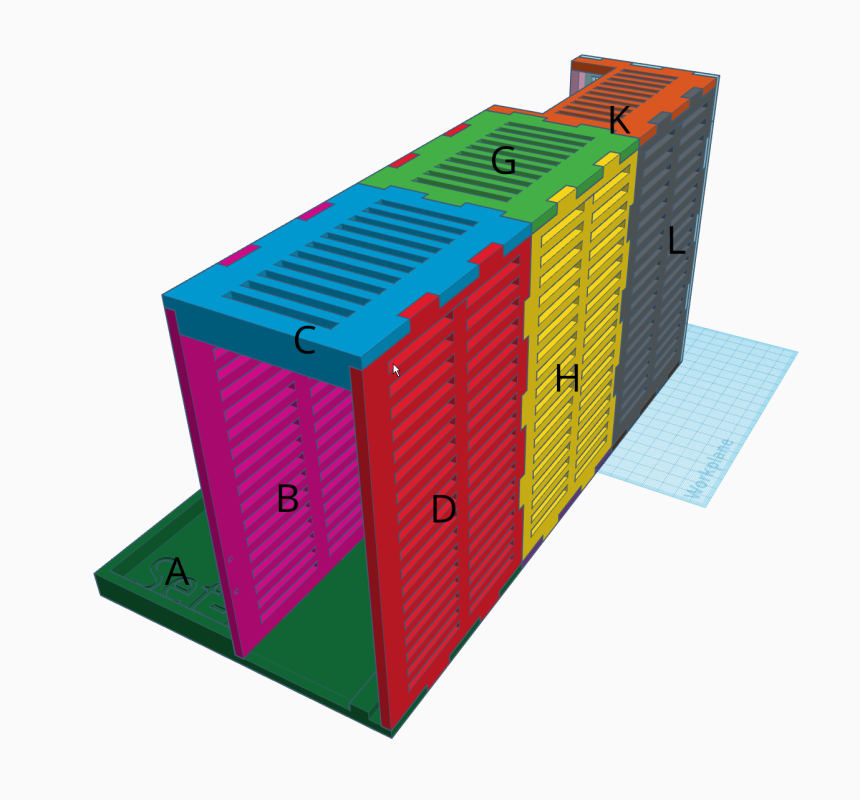
The cage is a 13-part print with all the parts designed to fit on a 220x220mm printer (I am using a Creality Ender 3 V3 SE). All the parts can print flat with no overhang. I would recommend considering a 1.0mm nozzle as the print is chunky and has no fiddly bits. Printing in a large nozzle will greatly improve it's strength too. That being said, the print above was done with a 0.4mm nozzle and there's been no issues.
Here's the assembly pictures:
The screw holes in Part B should be tapped prior to installation. This can be done with a PC case screw, an appropriate screwdriver, some force and patience. Heating the screw to 80C may help, just don't melt the plastic, or the screw might not come back out. You can also try whilst the print is cooling on the bed, but be wary you may cause warping.
Some filing may be necessary to make the joins fit, depending on your printer's accuracy. All parts can be superglued together, or you can use whatever, really. You could even use a 3D printing pen to seal the seams if you're adventurous. Rounding it out with some rubber feet under the print will keep it from sliding around on the desk.
Downloads:
Link to STL files and assembly images: oculinkgpucagesetl.zip
You can ping me on Mastodon with pictures of your print or questions.
